👋 Hi there! I'm Suzie, a developer who began my coding journey in 2023. I’m passionate about building fast and dynamic web experiences using Next.js, JavaScript, and Tailwind CSS.
🌱 As I grow in tech, I enjoy documenting my learning journey and sharing insights to help others navigate their path.
✨ Fun fact: When I’m not coding, you can find me practicing Capoeria 🤸.
Let’s connect, learn, and create together!
:hover!
css에서 마우스를 특정 content위로 올려주면 content가 hover걸어 놓은 대로 작동하는 간단한 기능이다.
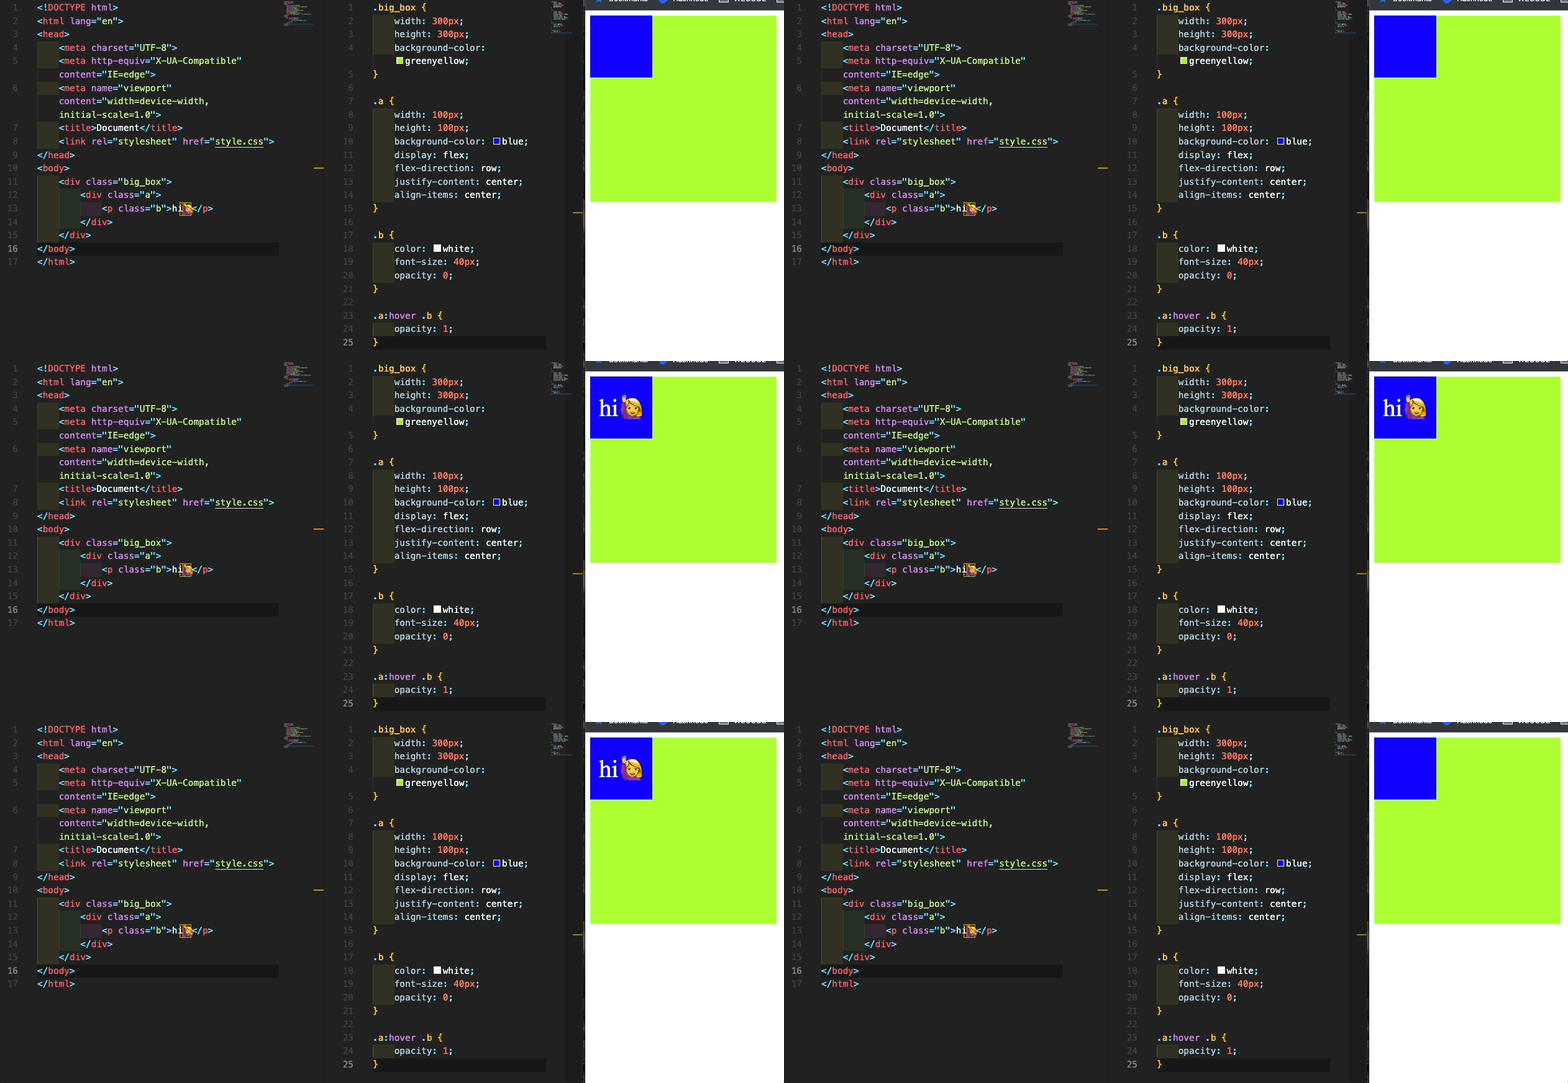
이 전엔 특정 selector에 hover를 걸어 놓고 그 selector에 해당하는 element를 마우스 hover하면 기능이 작동하는 방법만 알고 있었다.
하지만 다른 요소를 hover 했을 때, 특정요소가 변하게 하는 건 몰랐다가 어제 문제를 풀며 새롭게 알게 되었다.
아래 코드를 보면 마우스를 b(green)가 아닌 a(yellow) 에 갖다 대도 b(green)가 변하는 것을 볼 수 있다.
<body>
    <div class="a">
        <div class="b"> </div>
    </div>

//CSS

.a {
    width: 100px;
    height: 100px;
    background-color: yellow;
    opacity: 1;
}

.b {
    width: 50px;
    height: 50px;
    background-color: green;
}

.a:hover .b {
    opacity: 0.2;
}
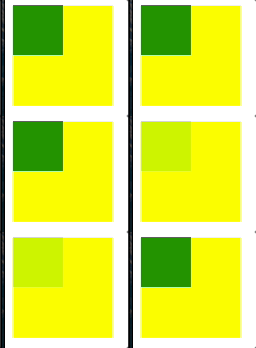
stackoverflow에 따르면 html 에서 a 다음에 b가 오면 가능하다고 한다.
.a:hover .b{...}
+ 또는 ~를 사용하는 방법도 있다.
아래의 웹 사이트를 참고하면 자세히 볼 수 있다.
useful website: https://stackoverflow.com/questions/6910049/on-a-css-hover-event-can-i-change-another-divs-styling
결론!!
(Hover하고싶은 부분):hover (호버했을때 반응나타는곳){ 반응}
🔎:hover 기능에 대해 설명 해 보세요.
:hover란 마우스를 오버했을 때 content에 다른 효과가 나타나게 할 때 사용됩니다.

![[TypeScript] Understanding Generic Functions](https://cdn.hashnode.com/res/hashnode/image/stock/unsplash/NH0pmKaZeuk/upload/47eb76a03d44ea841c42f406a93de157.jpeg)
